4.
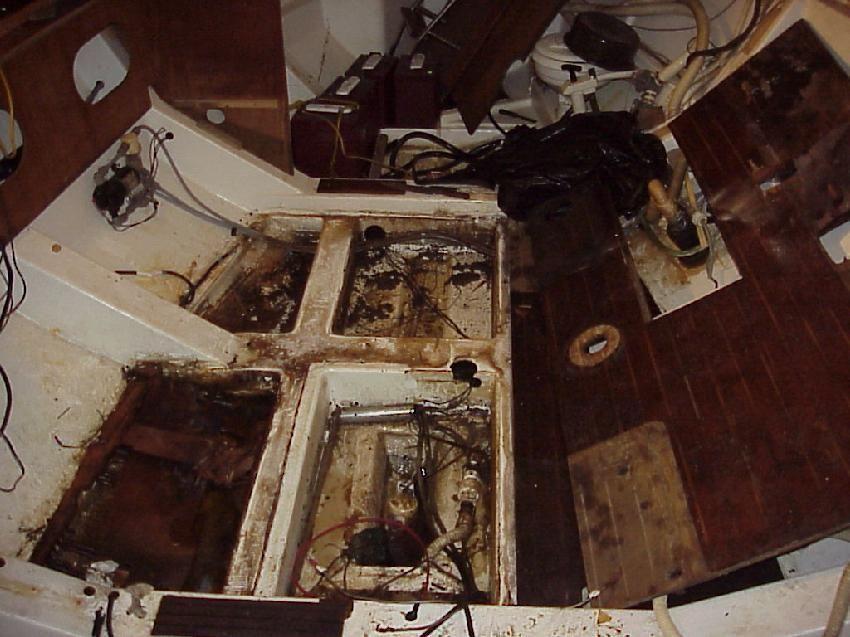
This kinda shows what we have been up against. (ugh) This is in the summer of 2000.
The old wood was shot. We ripped it up but tried to keep it in one piece for a template to cut the new flooring. Even that was a waste of time because we had to cut one of the old boards to get it out of the companion way. (that's it, leaning to the right) It originally was laid in place at the factory before the deck was glued on. That meant an extra cut for us. So we used thick pattern paper that comes as a big roll from Home Depot. I then taped the paper to the new wood and cut out the flooring. I left a little extra and 'final fit' the wood with a belt sander. We sealed the edges and bottom with the same finish as the top, i.e.; polyurethane. Some of the holes the factory cut out were not duplicated such as the keel bolt holes and the huge cutout under the sink for the gate valve. You see, the keel is bolted in place at the factory after the boat is assembled at ground level. We didn't have that problem. And the gate valves were the first thing I changed on this boat when it was new, so under the galley sink, I used a coupling and another nipple to raise the point that the Marlon ball valve joins the through hull. That allowed a solid floor under the sink except for a round (tight) hole for the pipe. No more stuff tipping over. (see picture #105) (sorry about the lengthy explanation but when I started this web site I did so with only 30 pictures. I'm trying to edit out the needless verbiage.)
As far as weep holes, yes we made them much bigger and added some too. BUT, these boats should not have water under the floor. The bilge pump is only for an emergency. (read what I did for the refer drain, on the photo of the new stove #65) Also, I use dripless shaft packing. It's been in place for 15 years and still works great. Our boat bilge was wet prior to the rebuild. One cause was a failed engine exhaust hose and the other was a failed refer condenser. Both of those are fixed. We have a dry bilge.